How to Locally Set Up Web-Based Notebooks
Use your local VS Code Studio to connect to an AI Platform pod and open web-based notebooks.
Prerequisites
- VS Code installed
- kubectl CLI installed and available in PATH
- Access to Kubernetes cluster
- Jupyter extension
Install Kubernetes extension
-
Open VS Code on your local machine.
-
From VS Code or your web browser, install the Kubernetes extension.
 Kubernetes extension page
 -
If not already authenticated and kubeconfig file not configured, go to VS Code's command palette: Show and Run Commands > Kubernetes: Add existing cluster > Azure Kubernetes Service (AKS) > Select subscription > Select cluster
 Command palette
 -
If multiple clusters appear in Kubernetes extension sidebar, right-click on the cluster you'd like to connect and select Set as Current Cluster.
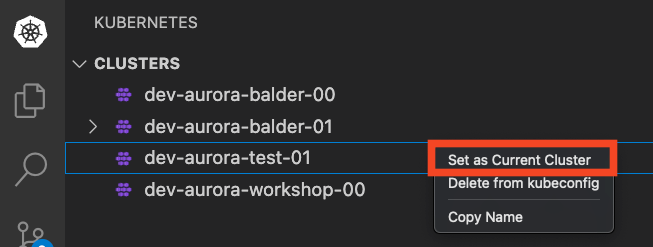 Set current cluster
 -
Open the cluster menu and go to Workloads > Pods.
-
Right-click the pod and select Attach Visual Studio Code.
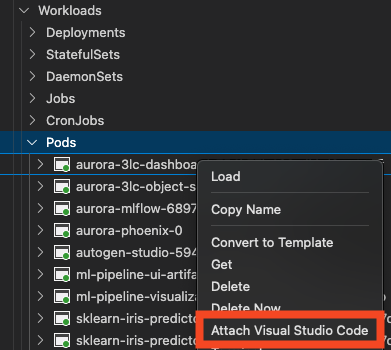
Attach pod
Open notebook
After attaching, the VS Code Explorer shows the container’s file system.
- Navigate to the directory where your notebooks are stored. For example:
/home/jovyan/src. - Double-click the IPYNB file you want to open. VS Code should switch to Notebook Editor view.
- If necessary, install the Jupyter extension.
- Select the Python kernel inside the pod.
- Run notebook cells.
- Save changes.