How to Set Up a Notebook
The Traditional AI/ML journey automatically sets up a web-based integrated development environment (IDE) for either JupyterLab or VS Code notebooks.
To set up a notebook:
-
Go to AI Platform dashboard.
-
In the Traditional AI/ML section, click Select configuration on either JupyterLab or VisualStudio Code.
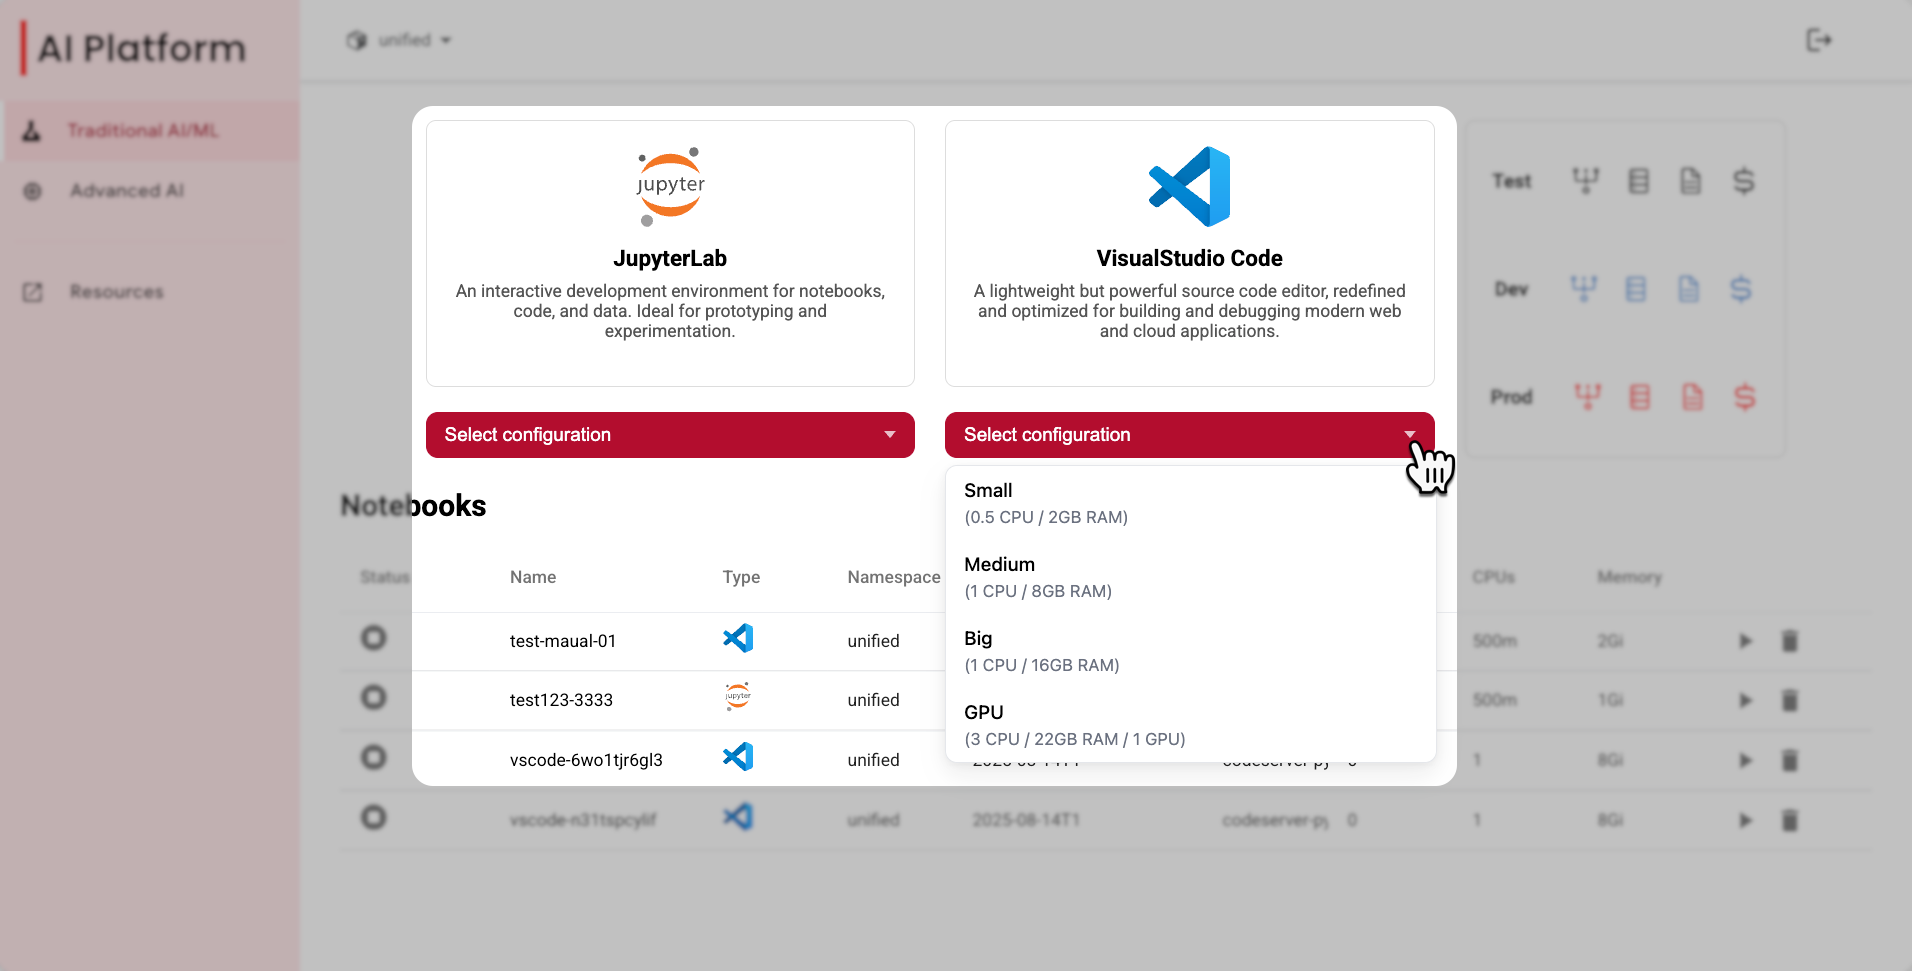 Select a notebook server configuration
 -
From the dropdown menu, choose a predefined notebook configuration.
Configuration name Number of CPUs Number of GPUs Memory Small 0.5 CPUs none 2 GB RAM Medium 1 CPU none 8 GB RAM Big 1 CPU none 16 GB RAM GPU 3 CPUs 1 GPU 22 GB RAM -
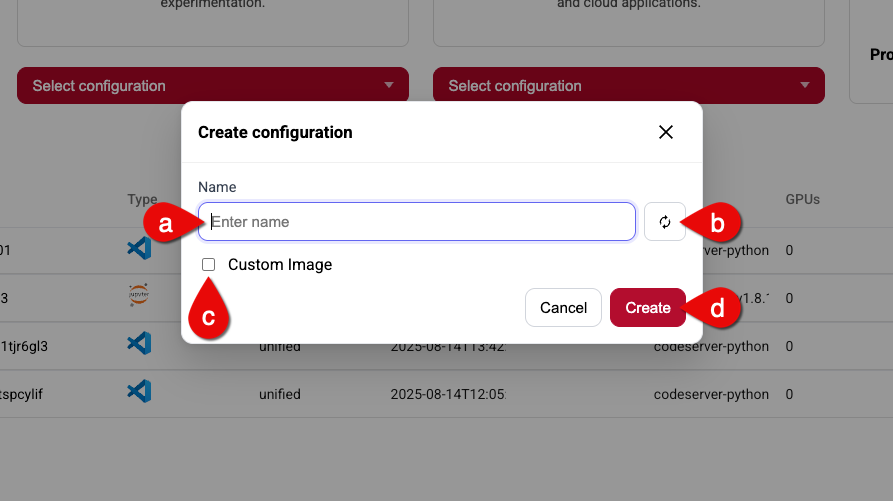
Next, the Create configuration dialog box appears. Here you can choose to continue with AI Platform's pre-configured images or choose use your own custom image.
-
a.) In the Name field, enter the name you want to give the notebook.
-
b.) If you want to generate a random name for your notebook, click the button next to the Name field.
-
c.) If you want to use a custom Docker image for your notebook instead of AI Platform's pre-configured images, do the following:
- Select the Custom Image checkbox.
- Then, in the new field that appears, enter the Docker image.
Custom Docker images- Follow the image naming convention:
registry/image:tag. For example,auroradevacr.azurecr.io/elyra/kf-notebook:3.15.1. - The custom Docker image must be present in
auroradevacr, the Aurora Azure Container Registry, and have the same entrypoint. - Click here for instructions on how to create your own custom Docker image.
-
d.) Click Create to generate your new notebook IDE.
 Create a notebook server
 -
-
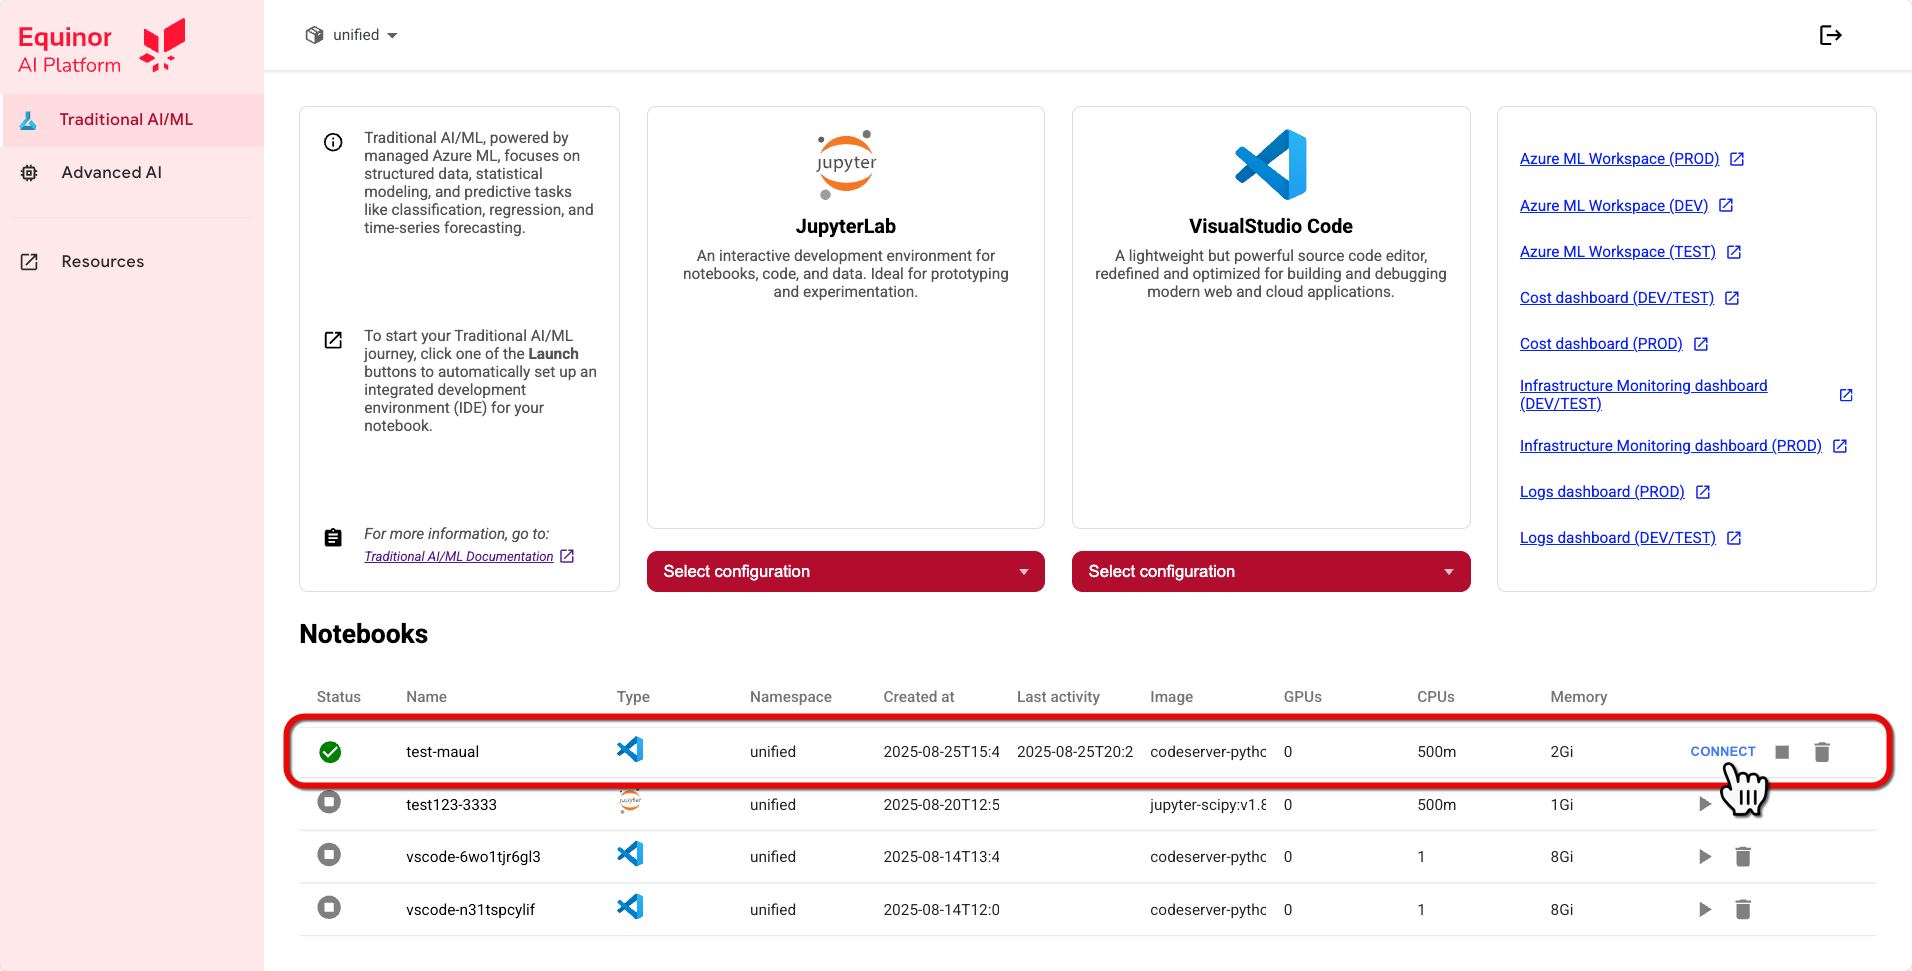
The notebook server will appear in the Notebooks table. Wait a couple of minutes for it to be ready.
-
After the notebook is ready, click Play ▶︎ and wait until the notebook is ready to be connected.
-
Click the notebook's Connect button.
 Connect notebook
 -
A new browser tab will open up with the web-based IDE for your notebook.
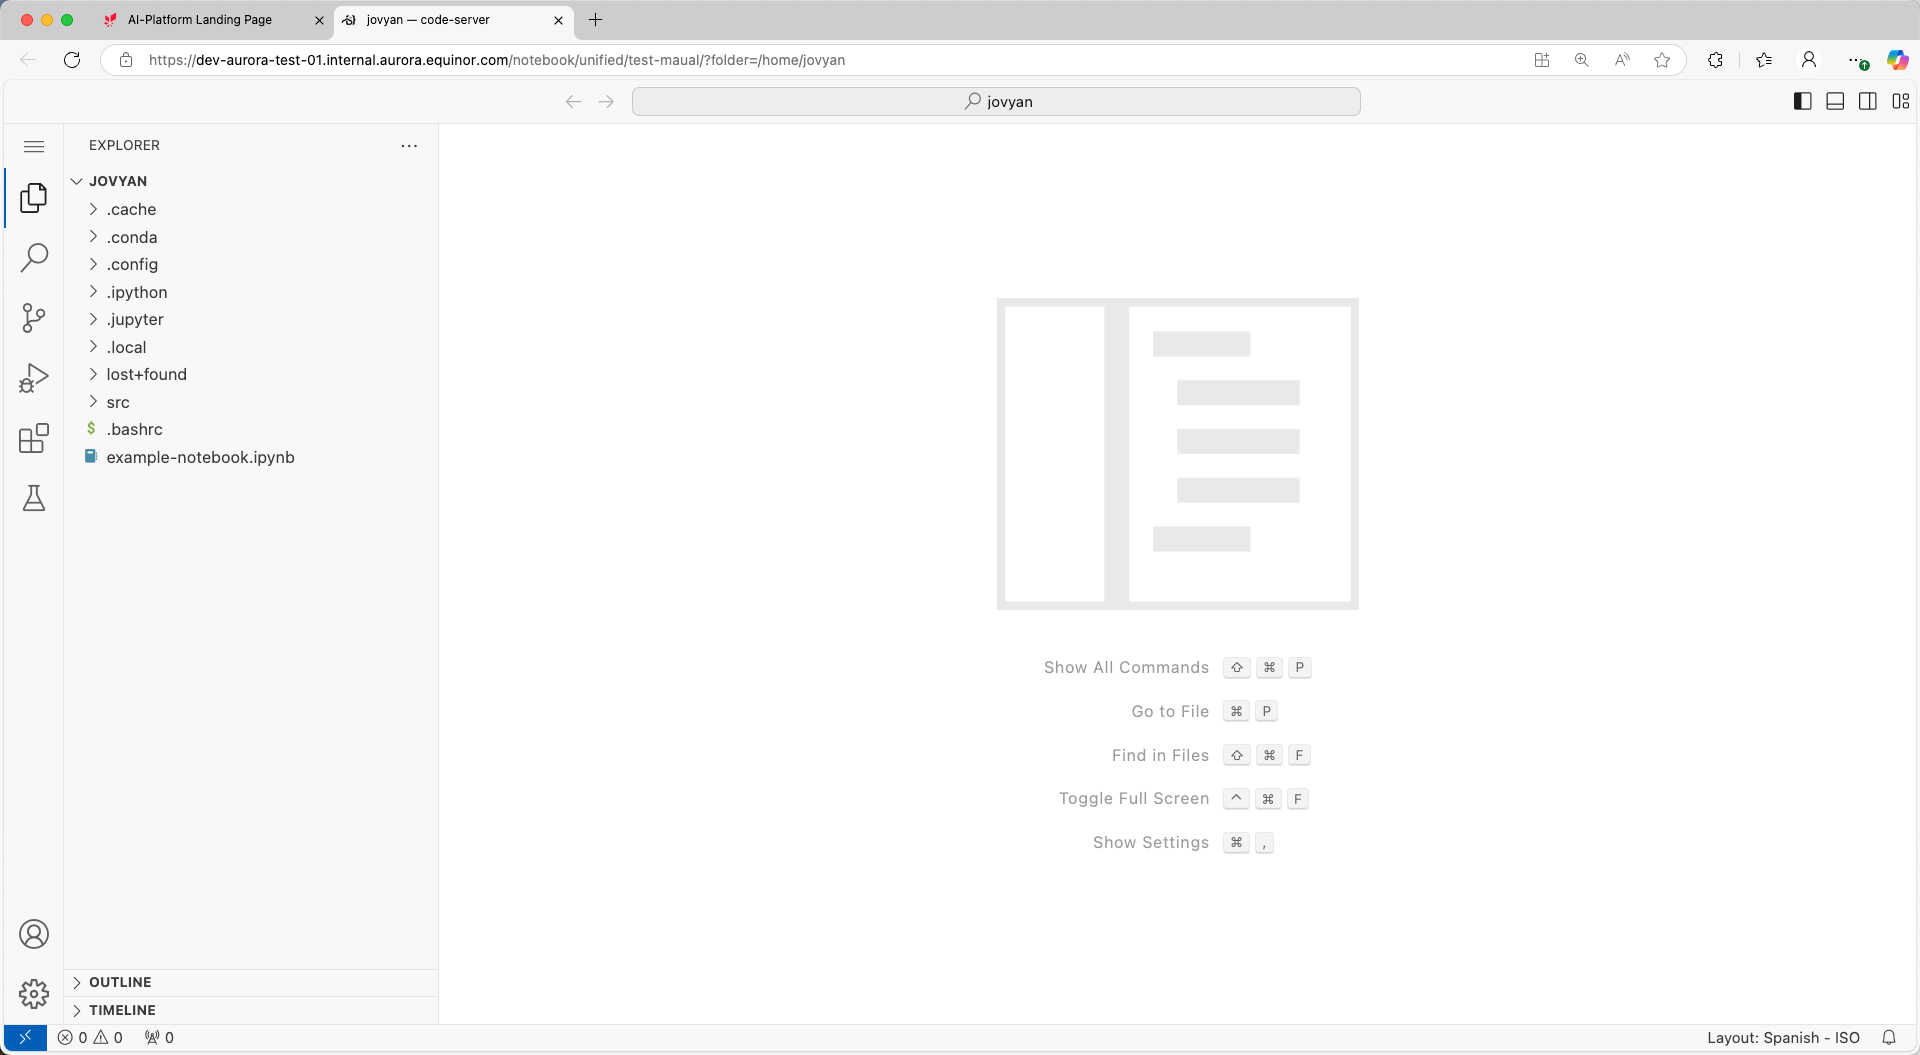 Web-based VS Code IDE for your notebook
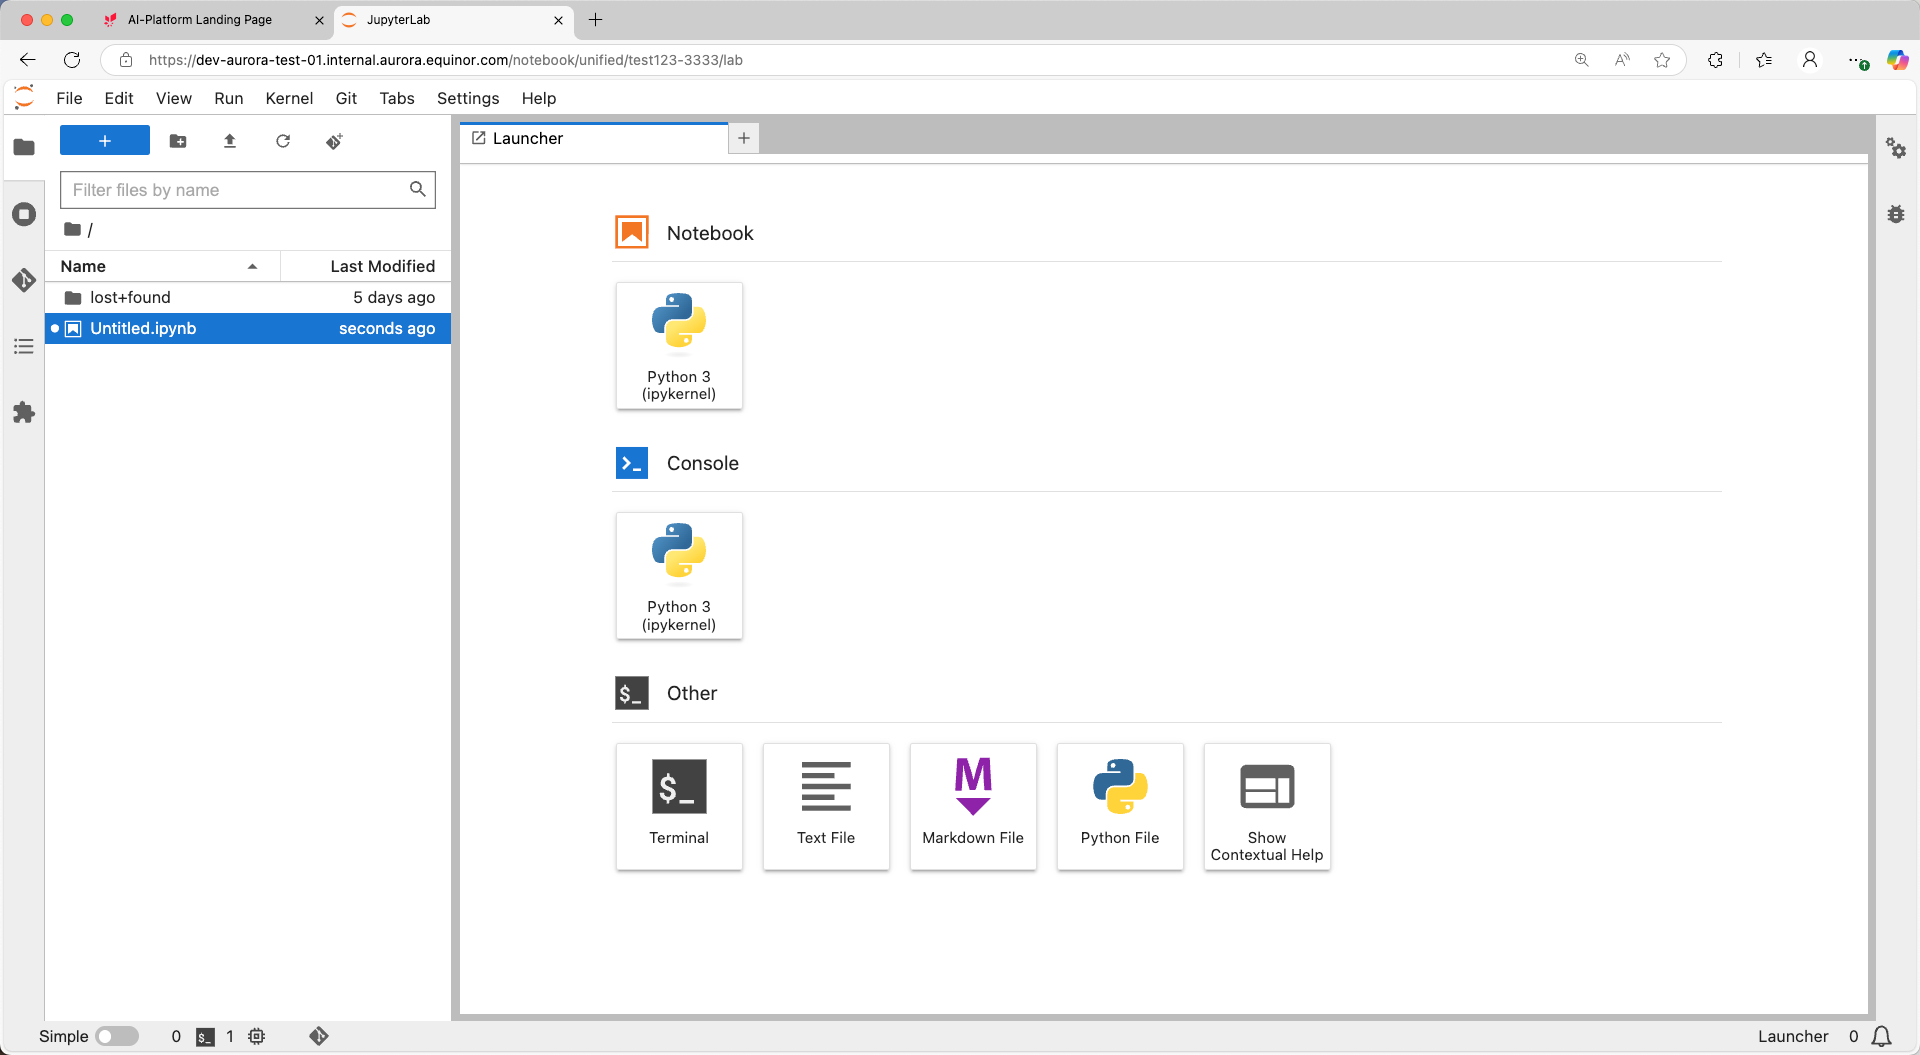 Web-based JupyterLab IDE for your notebook